Chromebooks are the type of laptops that will help you to work faster. They are handy and budget-friendly. One question people often ask is, How to take a screenshot on a Chromebook?
On a Windows computer, we use the Windows key to take screenshots, but Chromebooks don’t have a Windows key. Don’t worry! there are ways to take screenshots on a Chromebook. So, let’s get started!
Why Take Screenshots?
Screenshots are a cool feature. With them, you can capture any fun moments, important documents, or a tricky problem on your screen. Then, you can share this with friends, keep it for records, or ask for help.
Here are 7 Simple ways to do it.
1. Full-Screen Screenshot
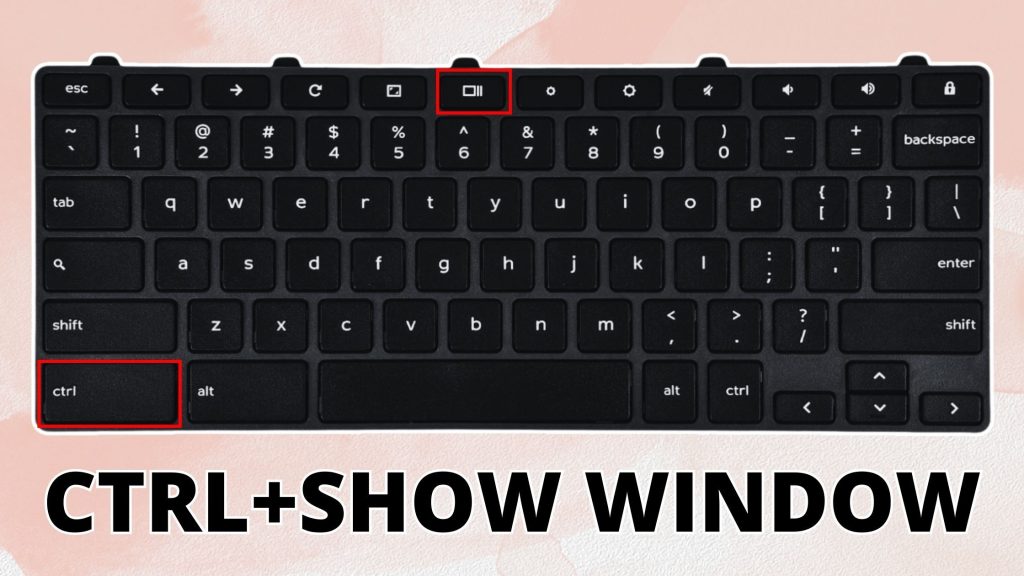
When you want to capture the entire screen, you can do so with a quick keyboard shortcut. Firstly, ensure what you want to capture is on your screen. Then, press the Ctrl plus Show simultaneously.
The Show window key is usually in the top row, above the ‘6’ key and it looks like a rectangle followed by two lines.
Once pressed, the screen darkens for a moment and a notification pops up at the bottom right. It’s a sign that your screenshot is successfully taken and saved automatically.
2. Partial Screenshot
But what if you only want to capture a particular area? Chromebooks have got that covered too. The Ctrl + Shift + Show window keys pressed together change your cursor into a crosshair.
Drag this crosshair around the part you want to capture. Release it to take a screenshot. You’ll see a similar notification and your screenshot gets saved, just like the full-screen method.
3. Using the Stylus
If your Chromebook comes with a stylus, it’s another easy way to take screenshots. Simply remove the stylus from its holder and select Capture screen from the stylus tools. Then tap anywhere on the screen, and the screenshot is taken instantly.
4. Use of External Keyboard
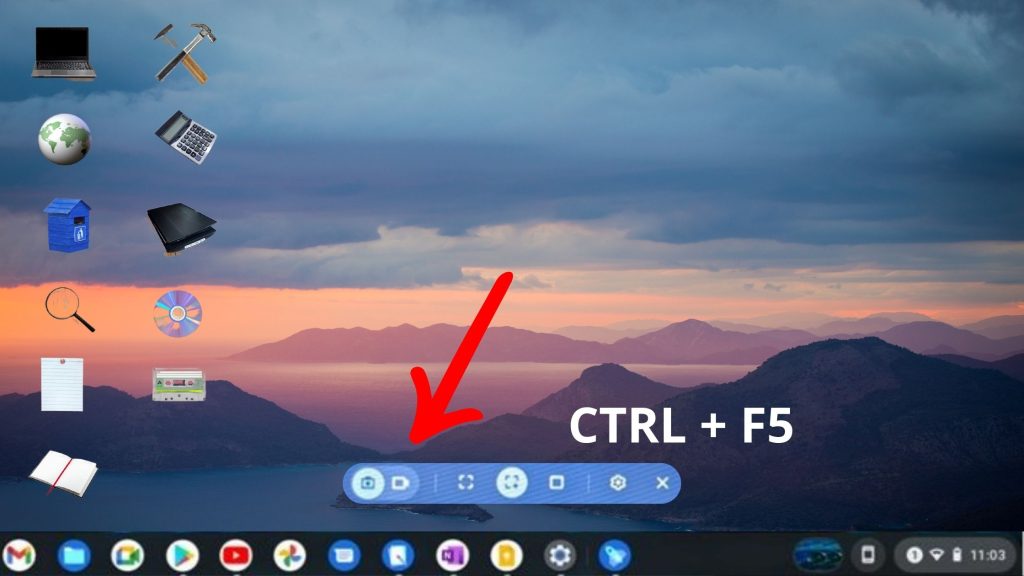
Using an external keyboard with a Chromebook? The method slightly changes. To take a screenshot of the full screen, hit Ctrl + F5.
For a partial screenshot, strike the Ctrl + Shift + F5 keys together. Drag the crosshair to select the part of the screen to capture and release the keys.
5. Use of Third-Party Screenshot Apps
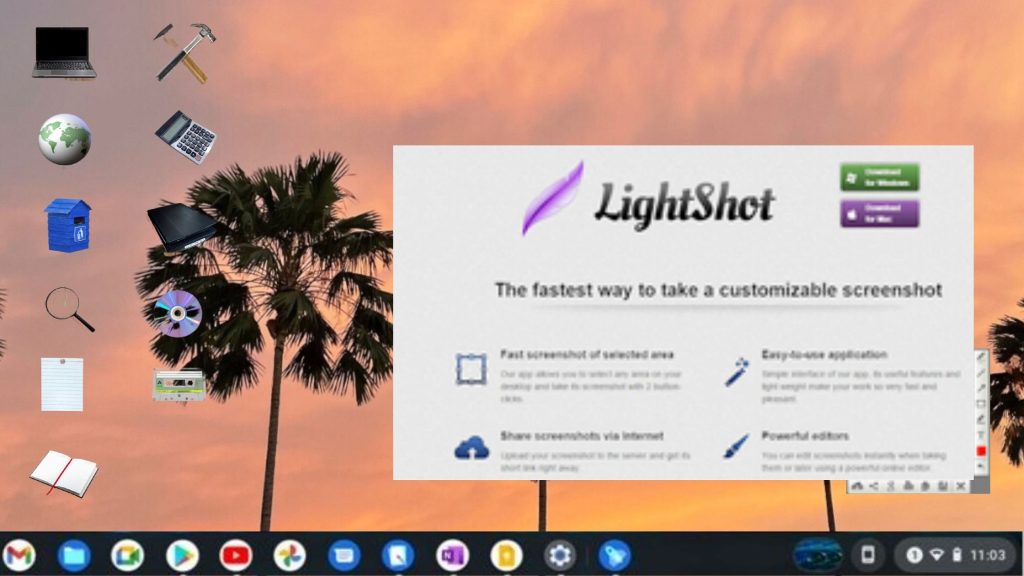
There are also apps available on the Chrome Web Store to take screenshots, like Lightshot, Awesome Screenshot, or Nimbus Screenshot.
They come with powerful tools to take, edit, and even annotate your screenshots. Download one of these from the store, follow its instructions, and screenshotting becomes more dynamic.
Finding Your Screenshots
After we take screenshots, we need to find them. On a Chromebook, screenshots automatically get saved in the ‘Downloads‘ folder. Here’s how to get there:
Click on the Launcher on your screen. It’s a circle at the bottom-left corner. In the search bar that pops up, type in ‘Files’ and click on the ‘Files’ app. On the left, you will see a folder named ‘Downloads.’ Click on that. Your screenshots will be saved there.
Wrapping Up
There you have it! These five methods make taking screenshots on a Chromebook as easy as pie. So next time you need to share something from your screen, use these simple methods to take a screenshot.
Remember, Chromebooks allow multiple ways to capture screens even without a Windows key. Whether you’re using key combinations or third-party applications, or trying to take screenshot of any other applications, taking screenshots can be hassle-free. These captures are saved in the ‘Downloads’ folder for easy access. With these methods in mind, you’re now ready to screenshot away.


